


Wallpapering is difficult? Rubbish!
We will show you how easy it is.
Wallpapering with a straight edge
Wallpapering with a staggered match
The right preparation:
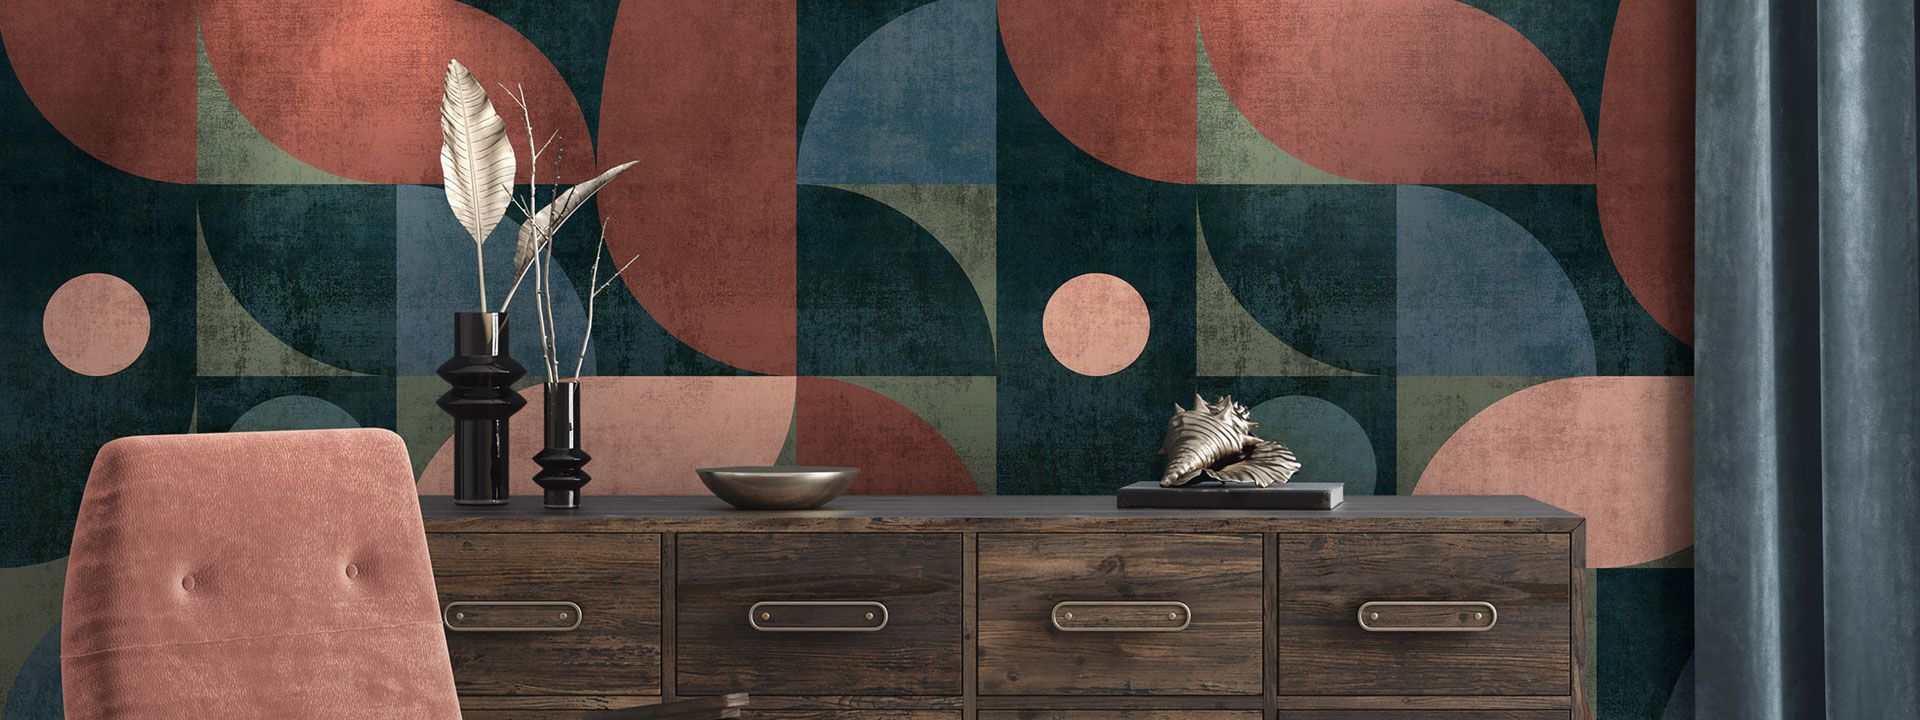
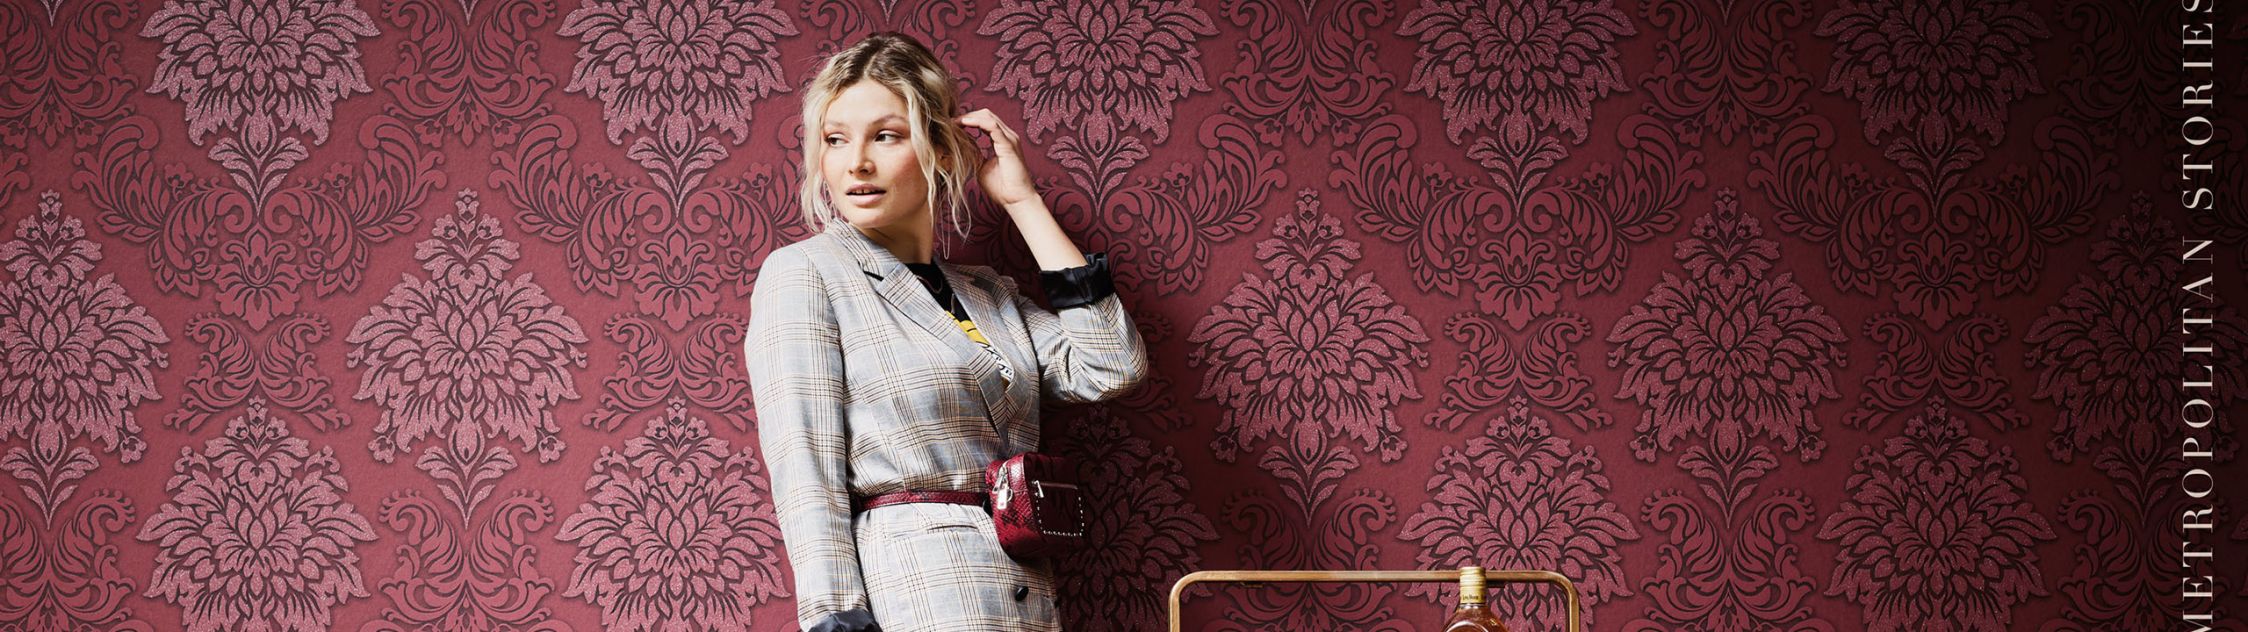
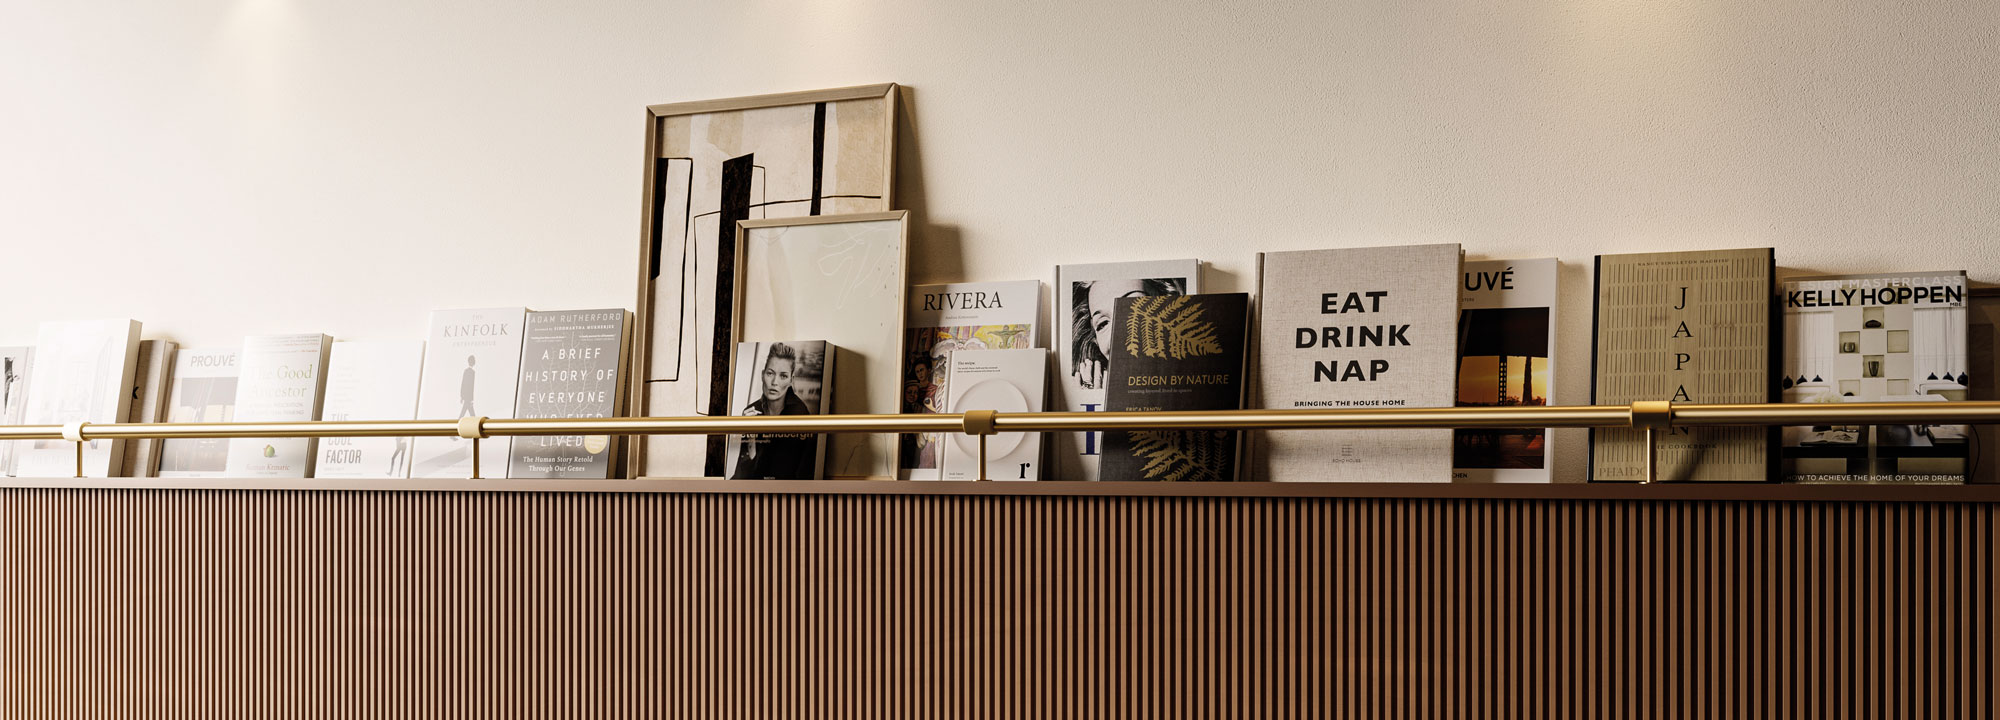
Types of wallpaper
Before beginning your wallpapering project, you should learn a little about the different types of wallpaper. That’s because you will need to pay attention to different processing methods.
Wallpaper formats
Wallpapers are generally manufactured in Eurorolls with a breadth of 53 cm, but special formats of 70 cm to 1.06 cm breadth are becoming increasingly popular. Thanks to the larger strip sizes, there are fewer edges to align, so you can save time when wallpapering.
Wallpapering tools
Here you will find an overview of all of the tools you will need for wallpapering.
Wallpaper symbols
Are you unsure what the symbols on the wallpaper inserts mean? Then simply take a look at our overview!
Roll requirement
In order to determine the quantity of rolls required for your room, all you need to do is to measure the height and breadth of your wall and to input this measurement into our roll requirement calculator.
Product checks
Before starting your wallpapering project, you should check the colour and structure of your wallpaper briefly.
Substrate checks before wallpapering
Before wallpapering, the substrate needs to be thoroughly checked. As a general rule, the substrate must be clean, dry, smooth, firm and absorbent.
The right paste
It is particularly important to choose the right wallpaper paste based on the wallpaper type and substrate!
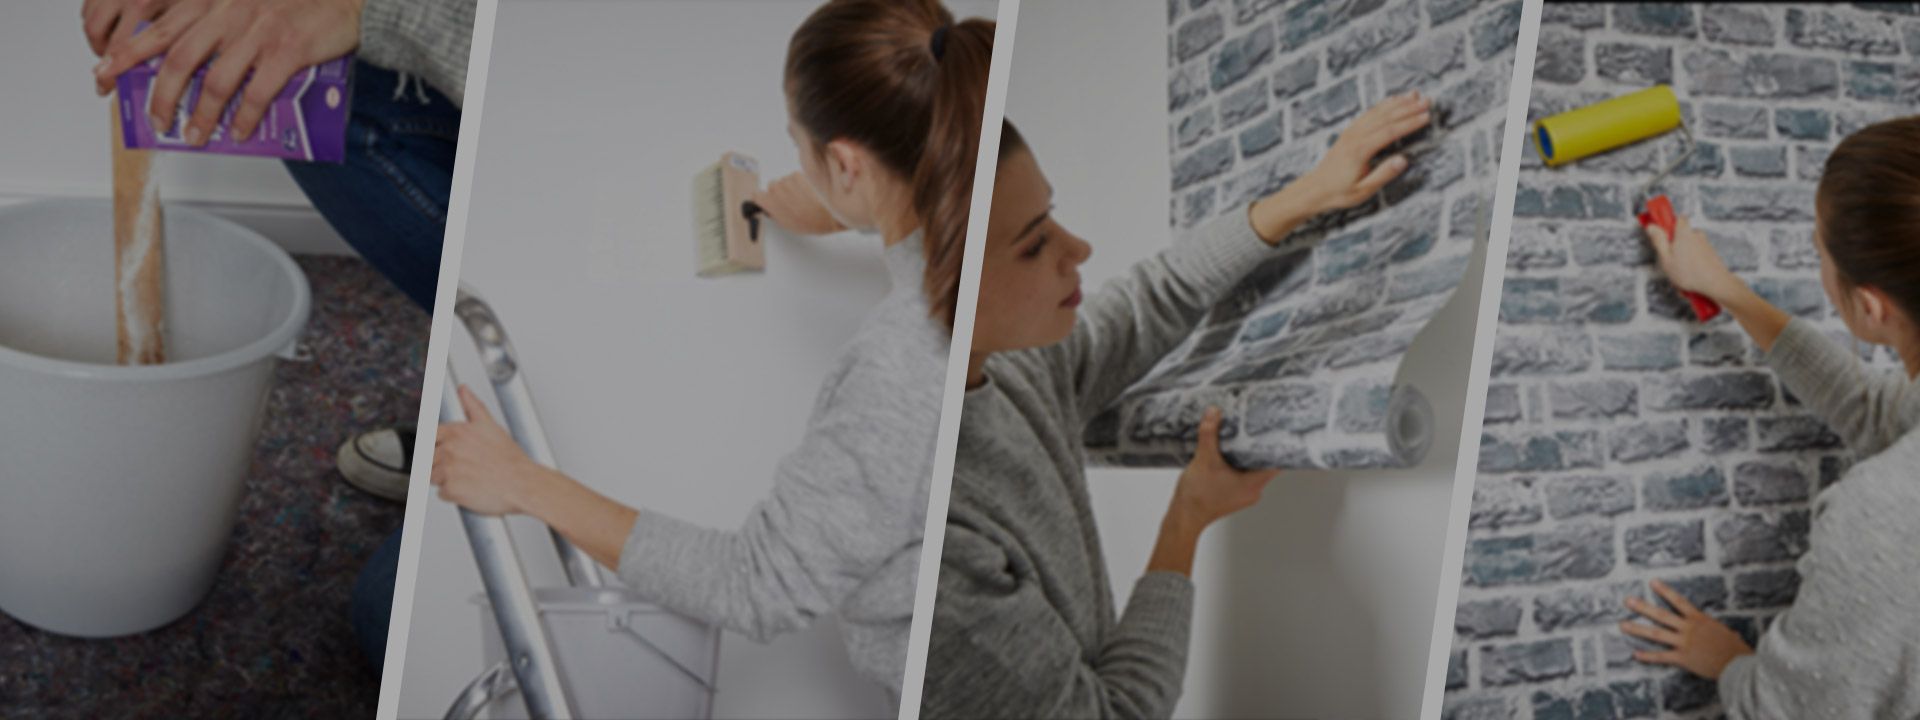
When mixing the paste, ensure that you are using a clean bucket with cold, clear water. Add the paste whilst continuously stirring with a wooden stick. The best thing to do is to follow the instructions on the paste packaging precisely.
Wallpapering explained in 30 seconds
Wallpapering one step at a time:
Richtig Tapezieren – mit uns wirst du zum Tapeten-Profi
Unser Tapetenfachbuch erklärt dir umfassend die handwerklichen Tätigkeiten zum Tapezieren.
Detailed wallpapering guidelines and tips:
Learn how to get your new wallpaper on the wall quickly and easily. We describe in depth what's important when wallpapering and how you can achieve a perfect result.
If you' ve already wallpapered before and just want a quick recap of the most important information, then take a look at our video tutorial for wallpapering with non-woven and photo wallpapers.
The right preparation before you start:
First of all, everything that could get in the way when wallpapering has to come off the wall. Nails and picks must be removed, socket and light switch covers should be loosened (But be careful! Make sure the power is turned off.) and any old wallpaper must be stripped off. You also need to make sure that the wall is smooth, absorbent and dry. Wallpaper and residues must be completely removed from the wall, cracks and holes must be filled and any walls that have not previously been wallpapered need to be checked for their suitability. The essential properties can be checked with a wipe test, a water test and the wallpaper test.
Next, you should cover and tape off floor and ceiling, connecting walls and windows so that any splashes of wallpaper paste don't stand a chance. Finally, check that you have all the necessary tools and check the amount of wallpaper rolls, mix the paste and start wallpapering.
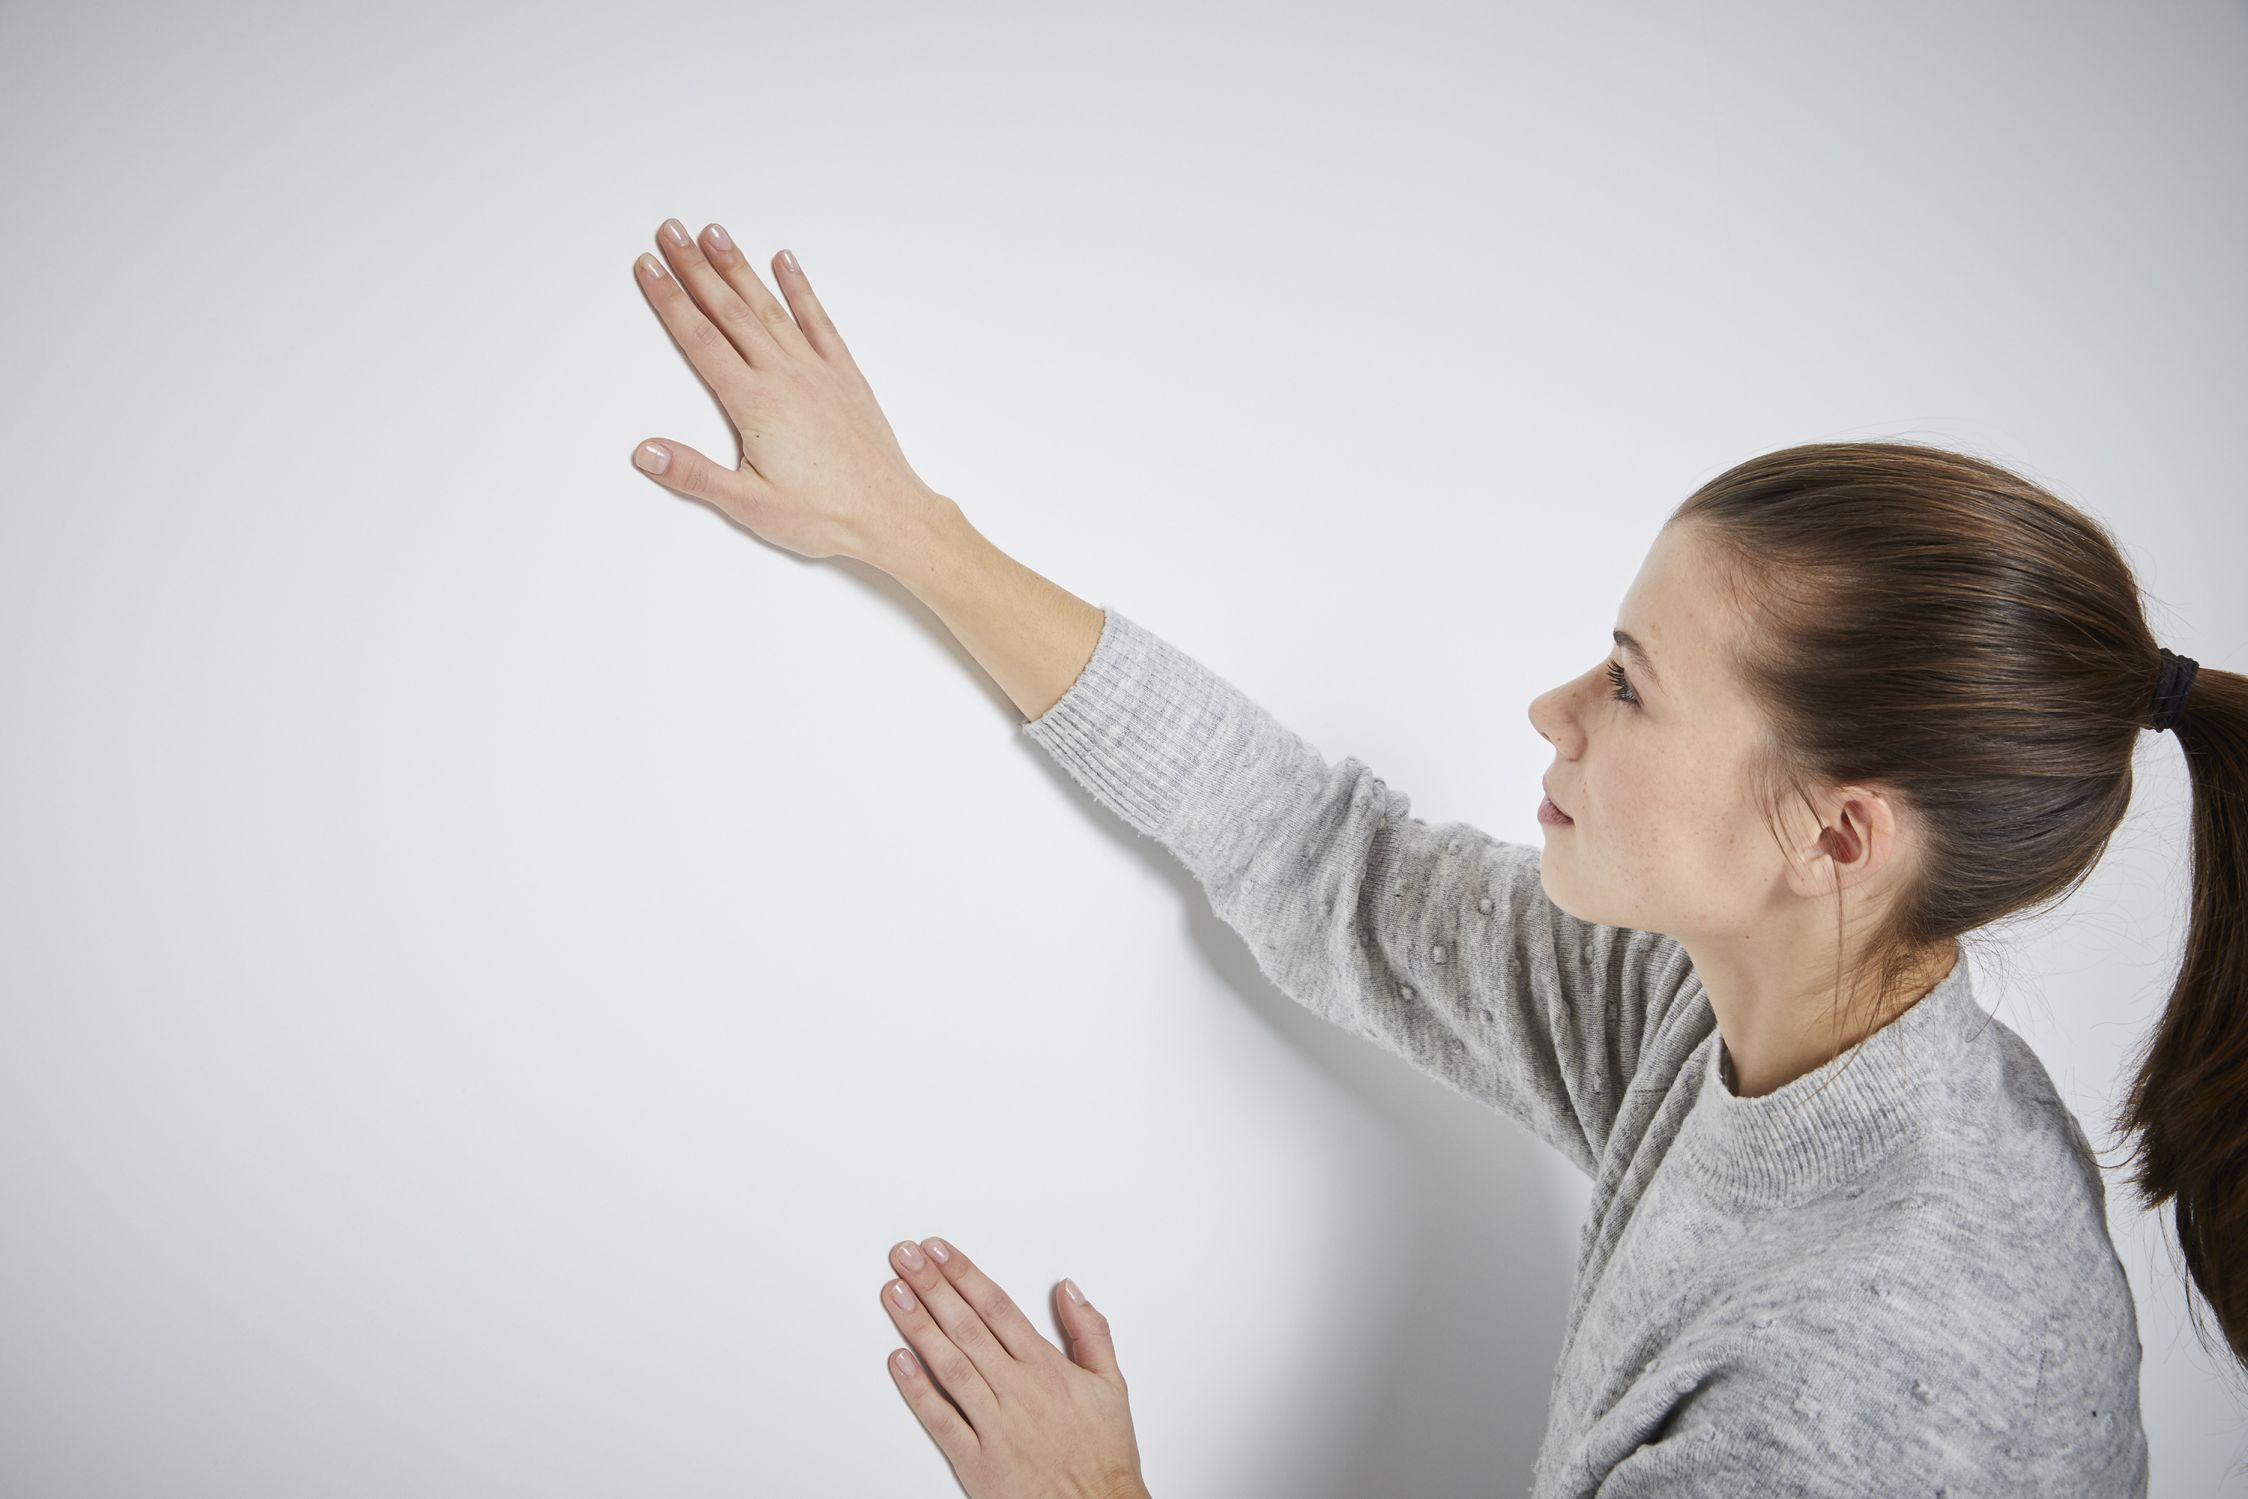
The wipe test
Run your hand over the wall surface. Check your hand, can you see dust, dirt or feel any moisture? Then the wall must first be cleaned and smoothed, or dried, to ensure that the wallpaper can properly adhere to the wall.
The water test
With this test you can find out how absorbent the wall is. Dampen the wall with a wet brush and observe whether the surface dries within a reasonably short time. If the water beads up or the wall doesn't dry, the wall must be pre-treated.
The wallpaper test
If you want to be sure that the wallpaper will stick to the wall, you can first wallpaper a test piece. This not only tests the surface, paste and wallpapering technique, it also tells you how long it takes for the wallpaper to dry. If the wallpaper doesn't stick properly, you should find out the cause and pretreat the wall before wallpapering it.
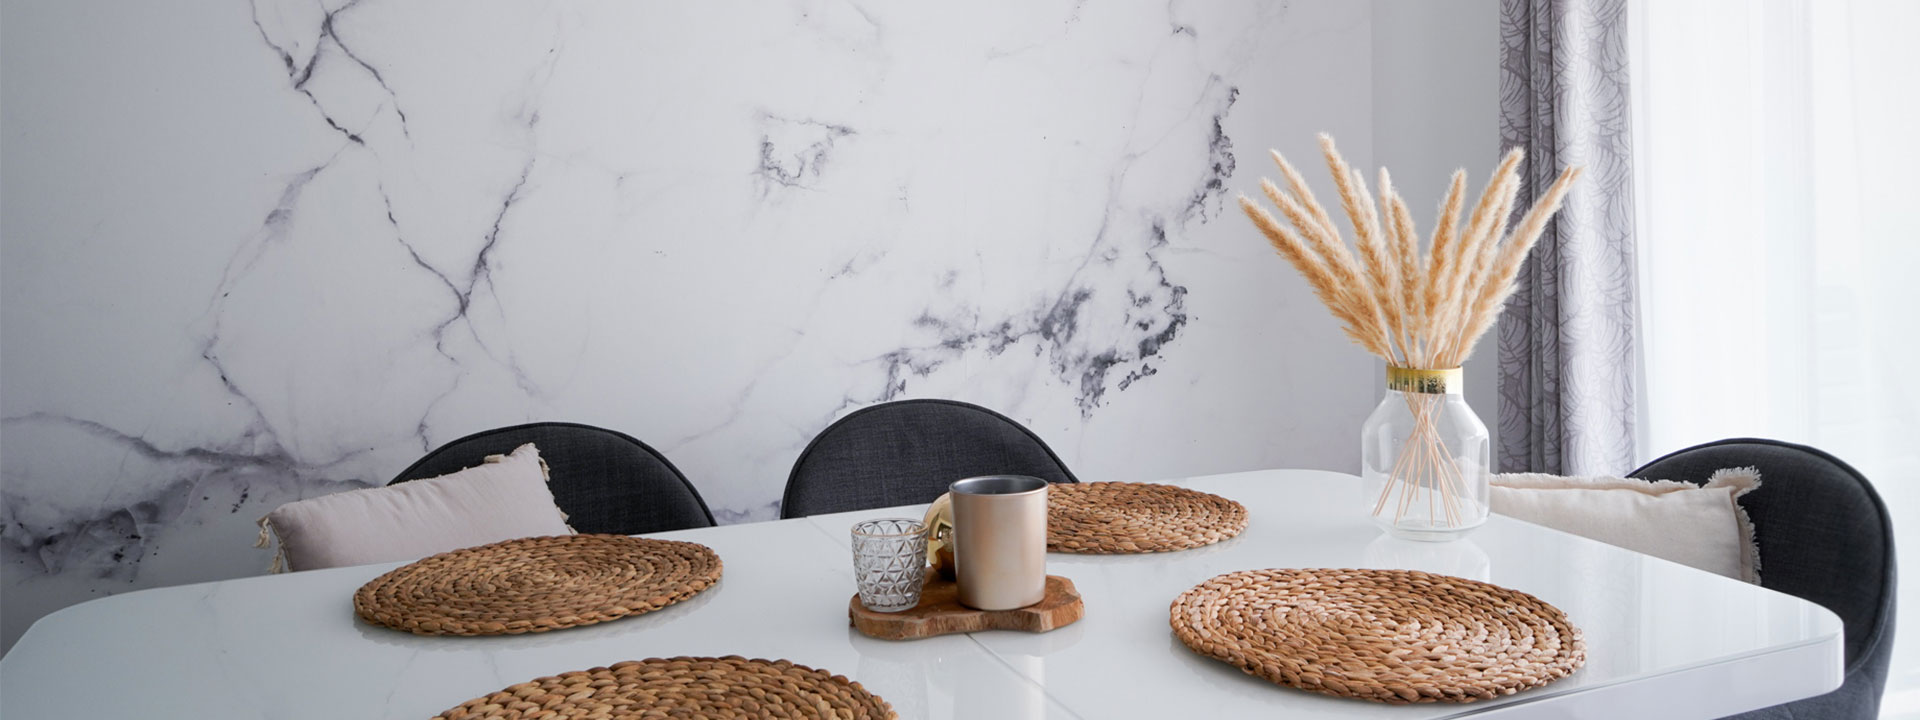
Tip: If you are putting up light-coloured wallpaper, you should also make sure that the surface is a uniform colour. We recommend painting the wall with a white pigmented primer beforehand. For an optimal base, you can also pre-paper the wall using lining or base wallpaper.
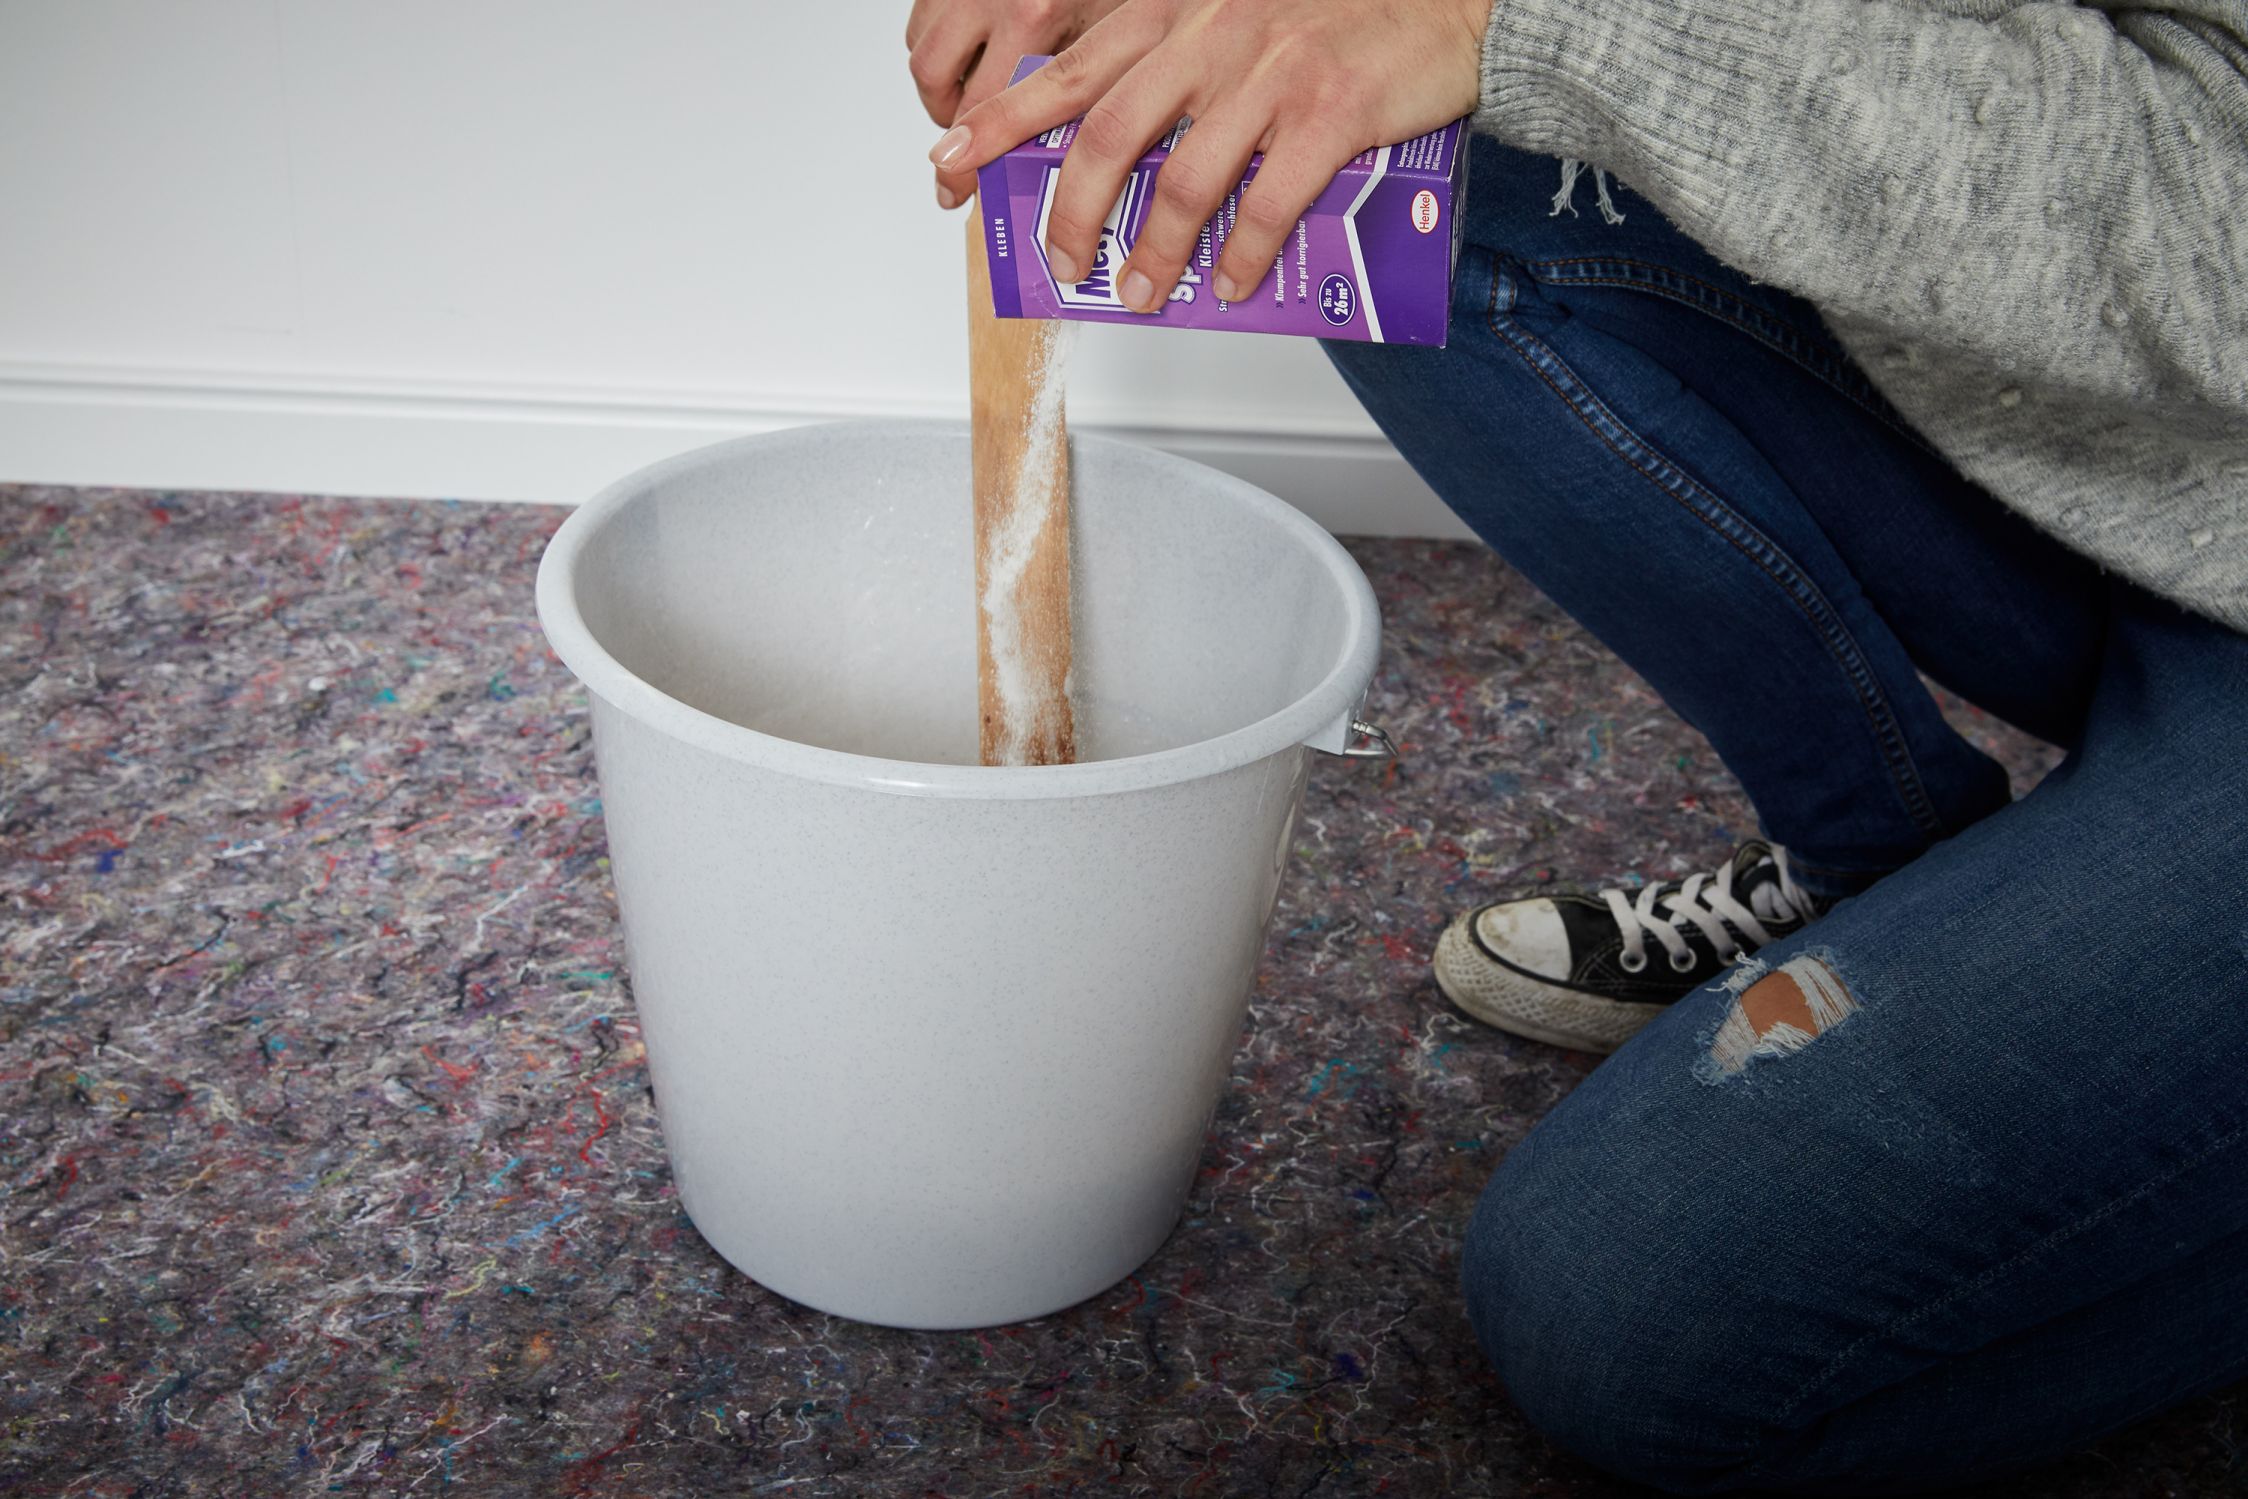
Mixing the paste
Non-woven wallpaper can be wallpapered with universal paste or special non-woven paste. The amount of paste you need and the ratio of paste to water are indicated on the packaging.
When mixing, make sure to use cold water and let the pasting powder trickle in while stirring to avoid lumps. It is ideal to let the mixture set for a few minutes until it becomes a thick paste. When the paste has a custard-like consistency, you can start pasting.
For optimal adhesion, always use a fresh paste and apply it thickly enough. You can find out more about wallpaper paste on our advice page.
Tip: When wallpapering, a successful result also depends on the right conditions in the room. It's best to wallpaper at temperatures between 18° and 22°C. Draughts should be avoided at all costs, so keep doors and windows closed. This allows the wallpaper to dry evenly, which prevents cracking seams and the development of bubbles.
Wallpapering
All wallpaper rolls from A.S. Création come with an insert containing the most important product information and a quick guide to wallpapering. It shows you in simple steps how to apply the wallpaper. The illustrated instructions are concise and serve as an overview. For wallpapering beginners and novices, we provide more details instructions on our advice page with tips on how wo successfully wallpaper. Check out our video tutorial and learn to wallpaper like a professional.
Cutting:
For the correct length of the strip, simply measure the height of the wall and add approx. 5 cm of compensating length. The excess helps to align the wallpaper correctly on the wall and compensates for uneven wall heights, e.g. in an old building. After you have pressed the wallpaper to the wall and smoothed it out, you can simply cut back the overhang on the ceiling and floor and get a clean edge.
To cut and apply the next strip of wallpaper, you need to pay attention to the pattern offset or pattern repeat of the wallpaper. You will find the information about this on the wallpaper insert. We explain this special feature of non-woven wallpapers & paper wallpapers in detail on our advice page.
Wall pasting technique
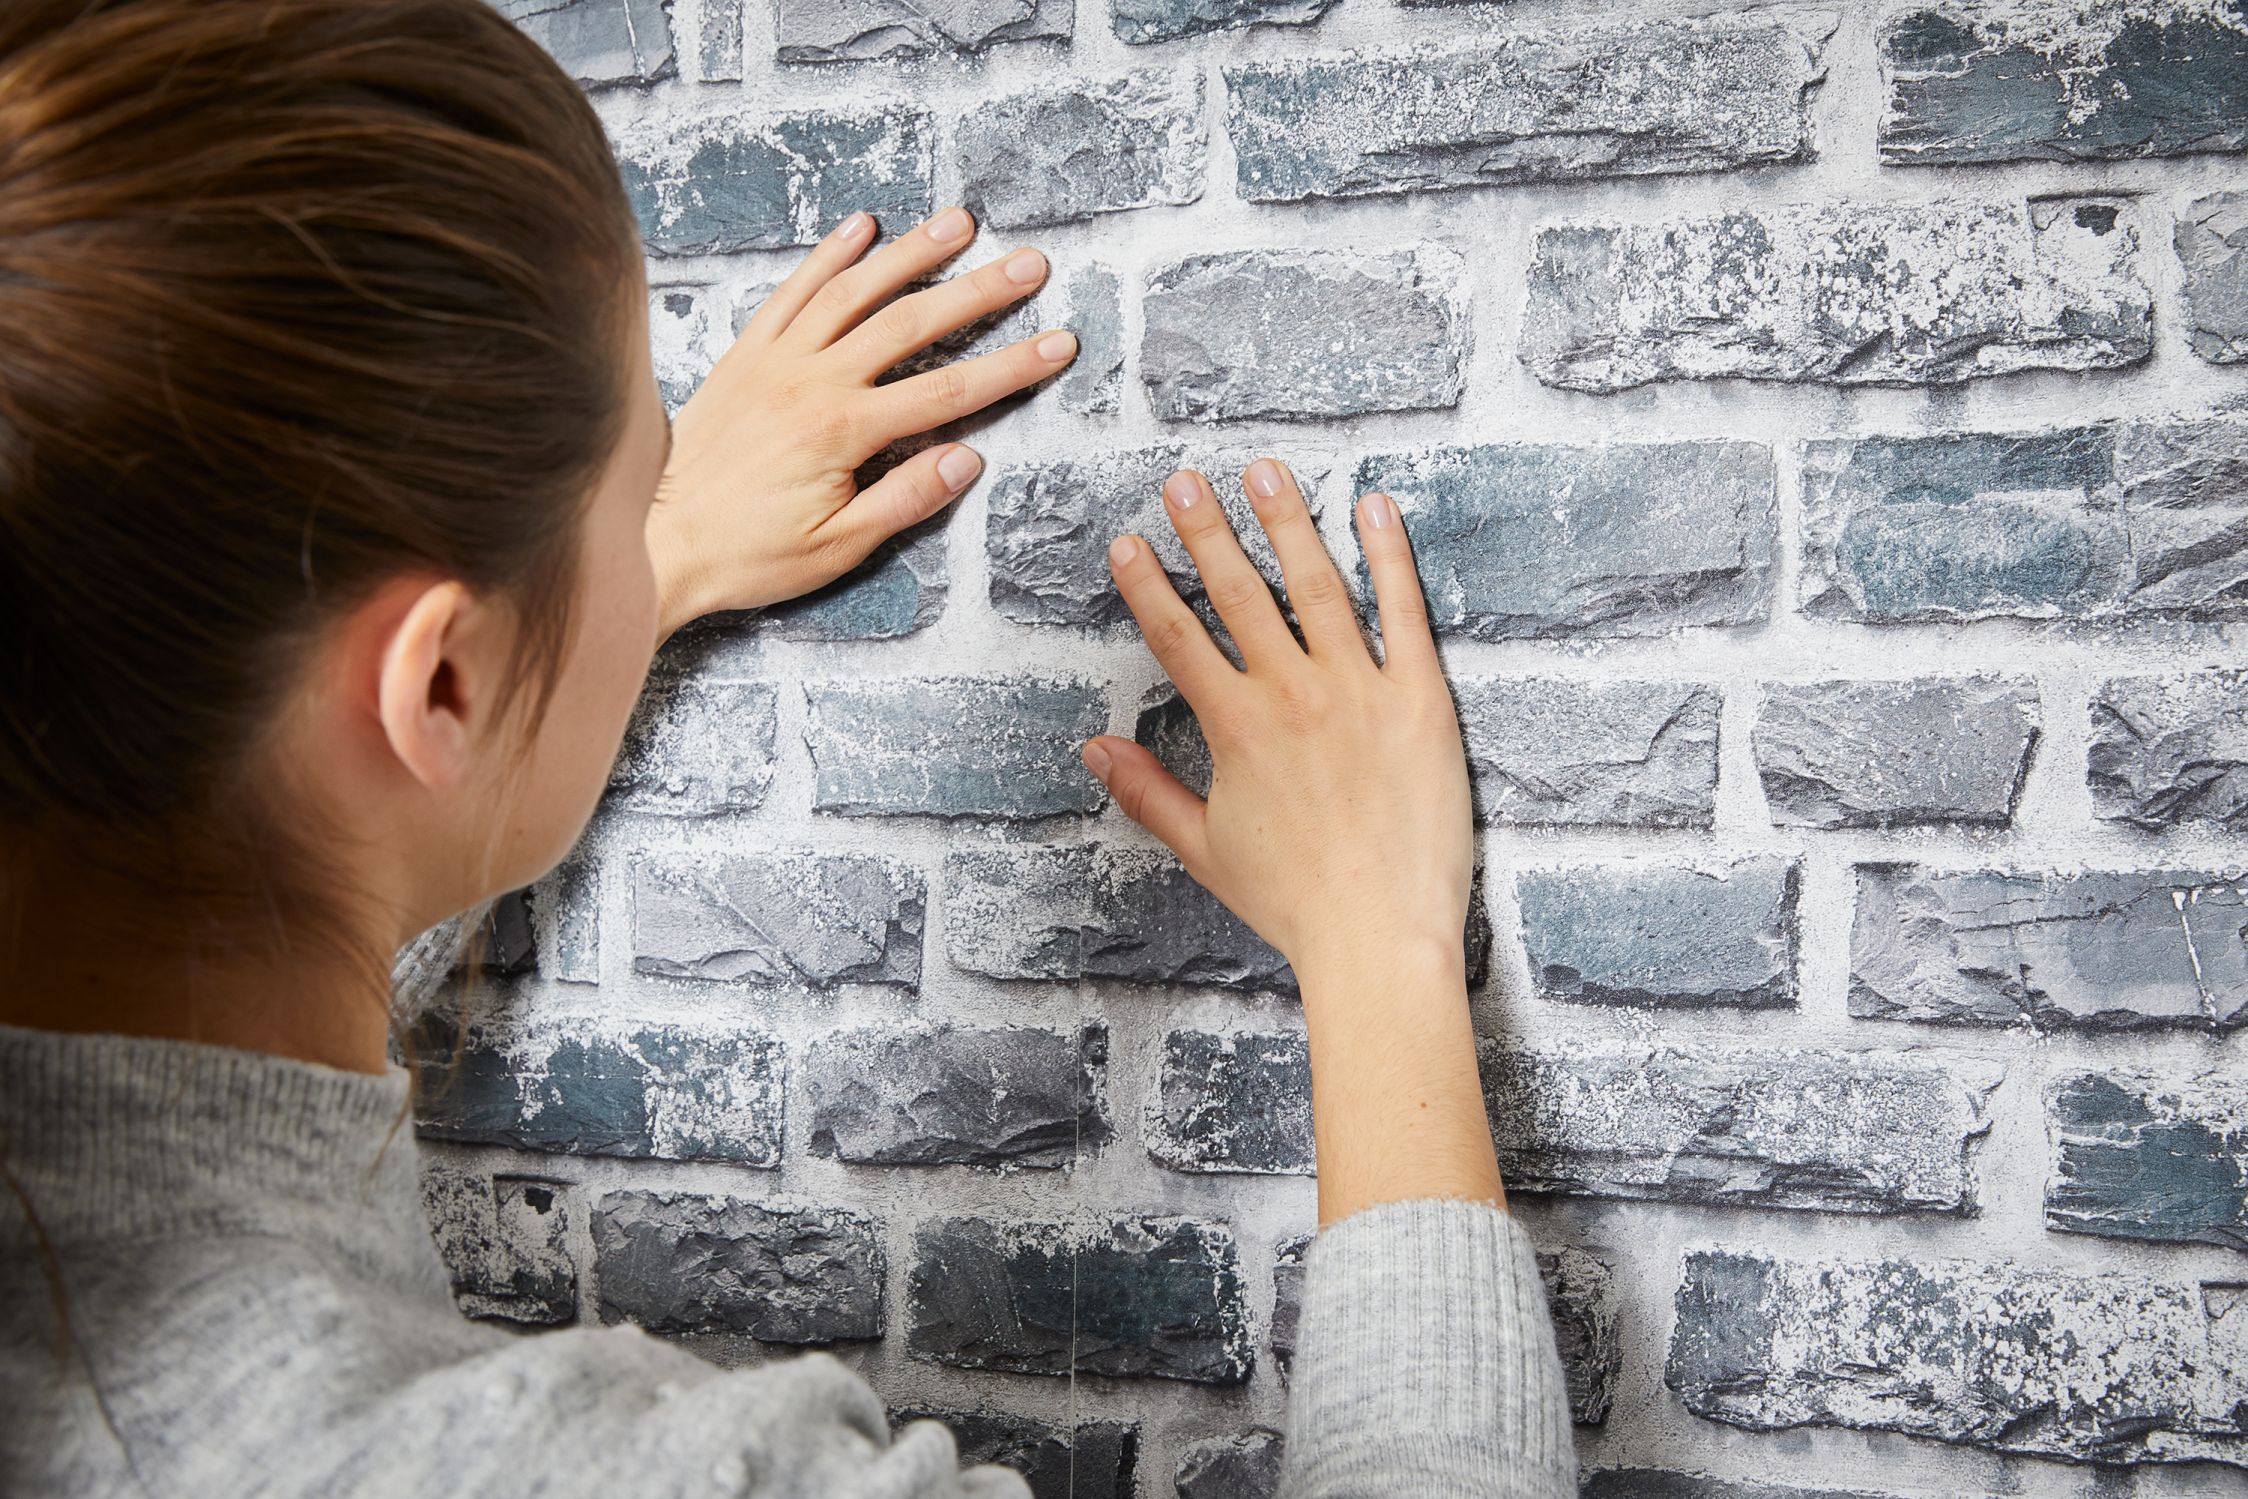
Non-woven wallpapers are quick and easy to apply because there is no soaking time to consider, and you can comfortably paste the wall rather than the wallpaper. This is how you work: Always paste only a wall area which is slightly wider than a wallpaper panel. Press panel after panel onto the pasted wall. The paste must be applied generously and evenly thick on the surface to make it easy to press on the wallpaper panel and ensure that it adheres well. Work from the top down and carefully press the panel with a pressure roller onto the wall. Make sure you don't create any creases and avoid splashes of paste on top the wallpaper. If paste is splattered, it is best to remove it immediately with a damp cloth. Air bubbles can be rolled out with the roller towards the edge of the wallpaper.
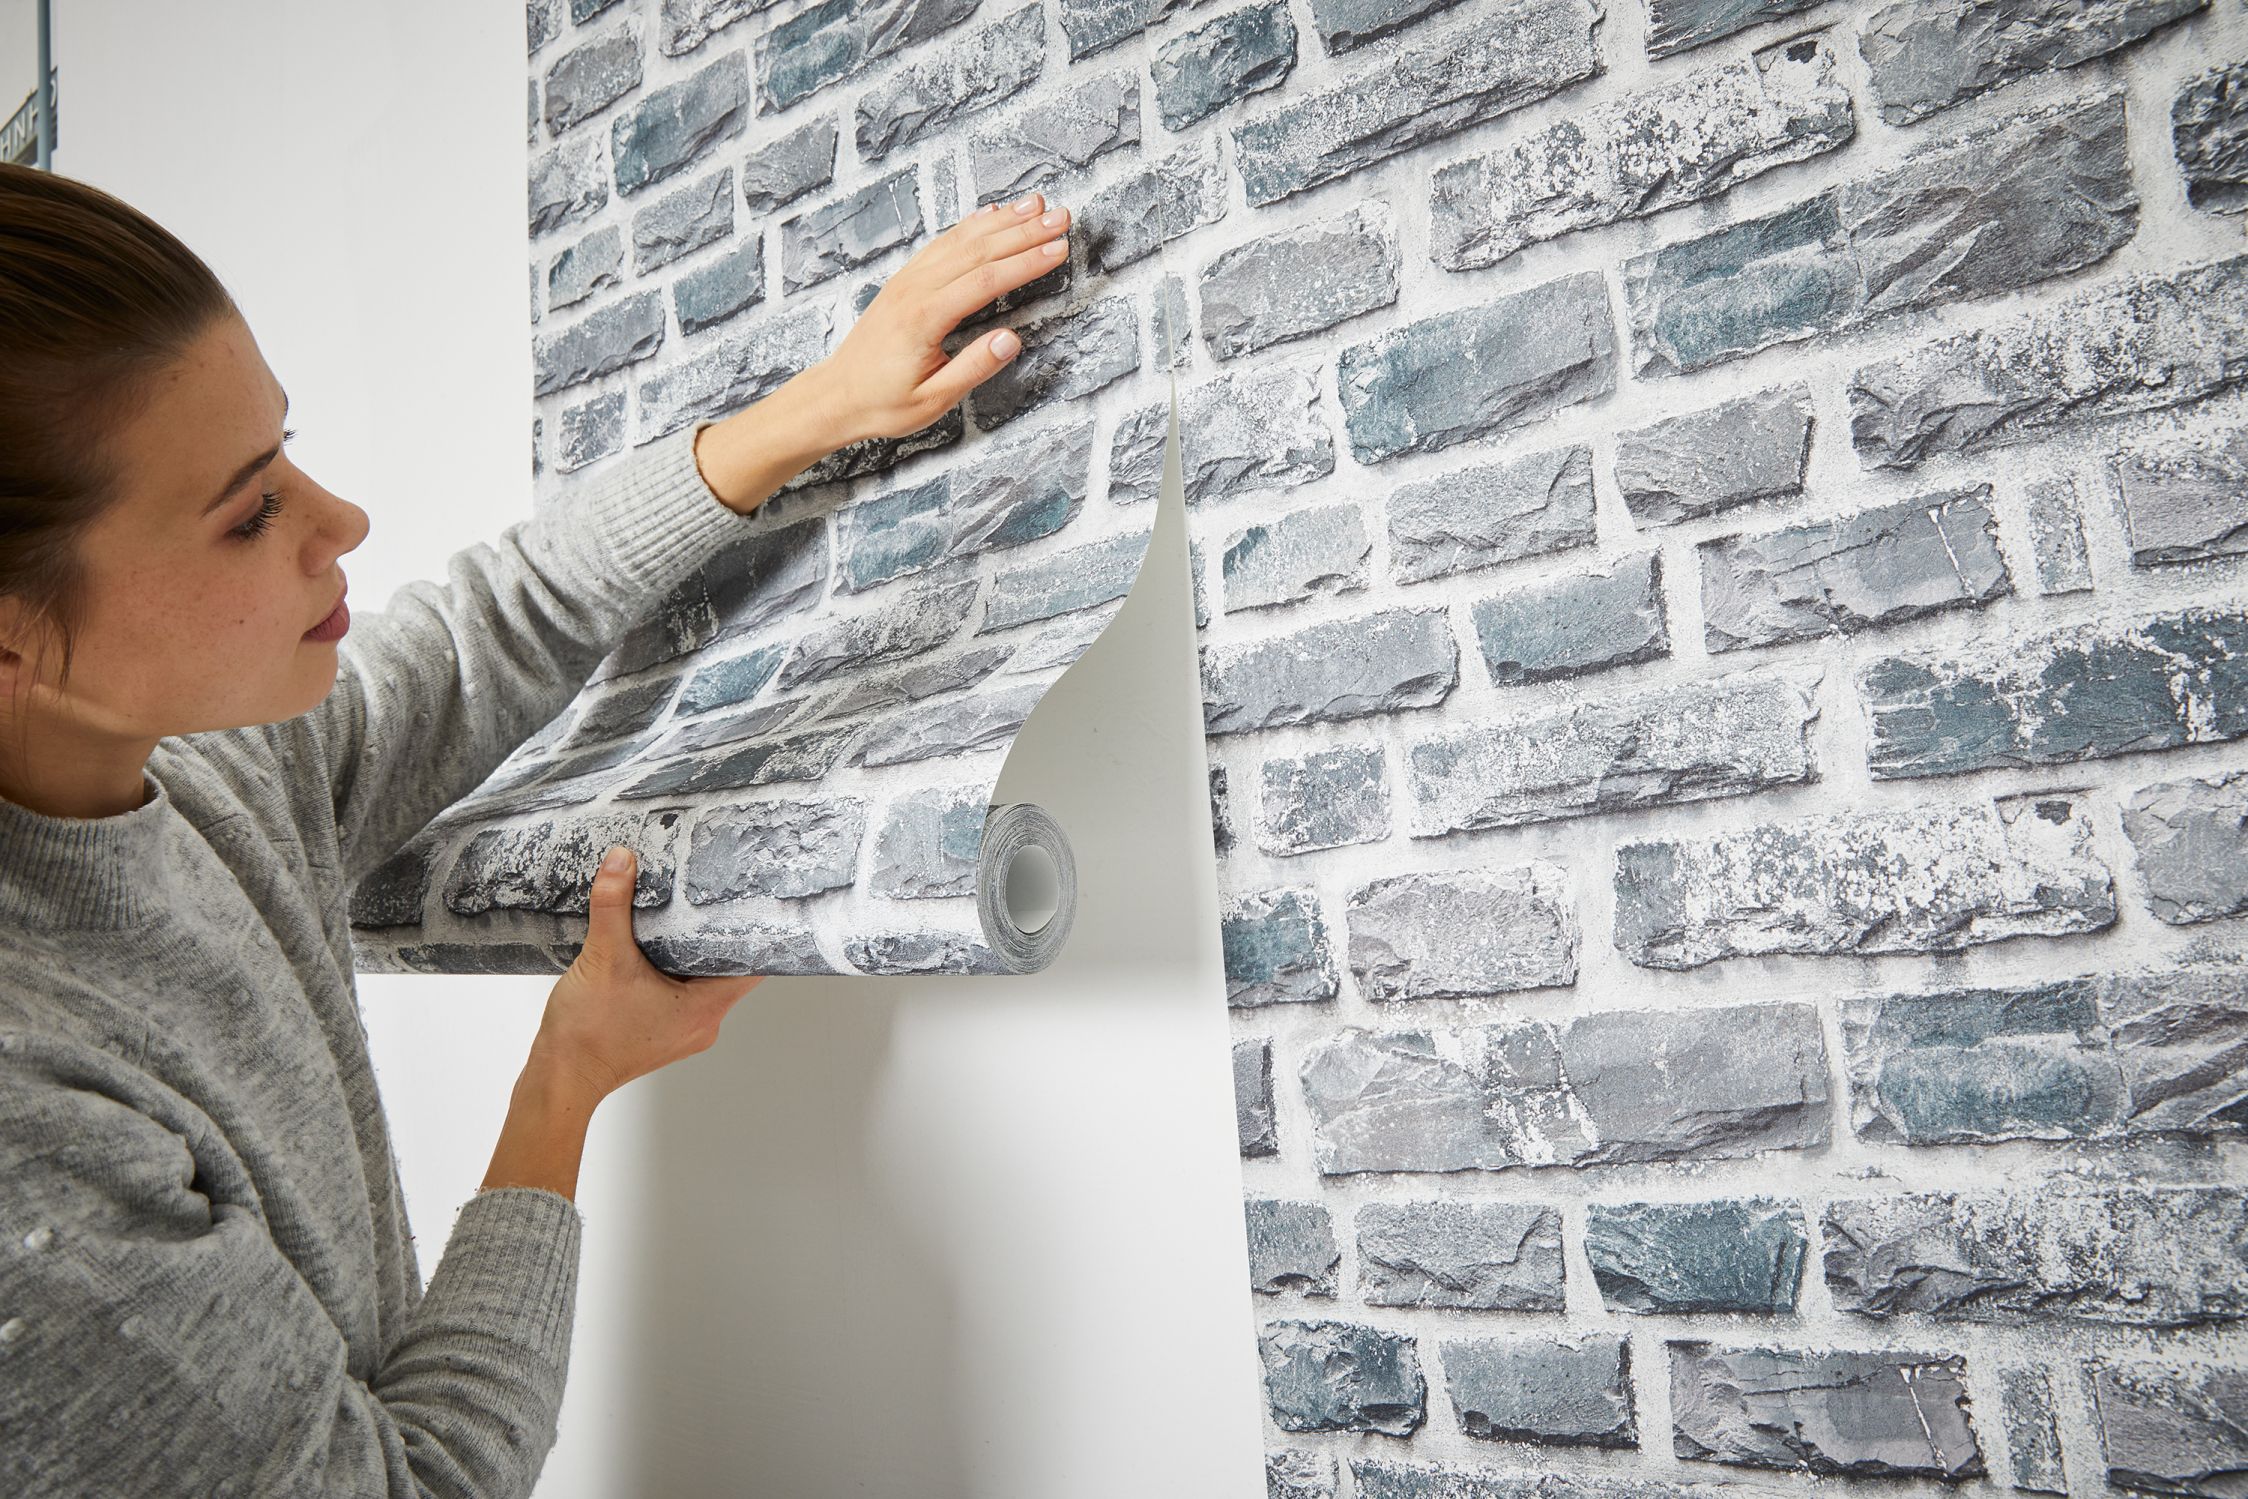
Positioning the wallpaper strips
To ensure that the wallpaper is applied seamlessly, and the pattern can reveal its full effect, it is important to glue the wallpaper panels butt to butt and to make sure that the motif is exactly aligned. The wallpaper data sheet will tell you whether you need to pay attention to a pattern repeat and if so, what type of offset has to be considered.
Avoid overlapping the panels. For a seamless appearance, place the sheets close together without any gaps and then fix the joint with a pressure roller. By rolling the transitions, you prevent the joints from cracking during drying.
Overhangs, junctions, edges & niches:
After the wallpaper has been pressed down, you can cut back any excess length with a sharp blade and a press-on spatula. The same applies to sockets, light switches or a wallpaper panel that is too wide.
If the wallpaper is to extend into a window recess or around a wall corner, it may be necessary to cut into the wallpaper and then fold it around the edge. Always make sure that the wallpaper is pressed down sufficiently and that there is enough paste for sufficient adhesion, especially around the edges of the cut wallpaper.
Tidying up & inspection
Even if you've already checked for excess paste, smooth seams and clean edges before packing up your paste and tools, it's worth having a final check. Look at the newly wallpapered wall from a distance or an angle and check whether all bubbles have been removed. If you are satisfied with the wallpaper, you can remove the masking tape and protective coverings. After the wall has dried, sockets, plugs and light switches can be reattached and, if desired, shelves and picture hooks can be re-hung.
Done!
As you can see, wallpapering is very easy. With the right preparation and the proper technique, the wallpaper is quickly and safely applied to the wall and your room will shine in a brand-new design.


