


Wallpaper paste for optimal hold
If you are embarking on a wallpapering project, it’s not only the right wallpaper that you need. Here, you can find our which paste you require for your wallpapering project. We clarify the most important questions on the following topic:
- Which wallpaper paste do I need for my wallpaper?
- How do I prepare the paste correctly?
- How much paste do I need?
- Should I apply wallpaper paste with a brush or a roller?
- Should I apply wallpaper paste onto the wallpaper or directly onto the wall?
- Which other tools do I need for wallpapering?
- How can I remove wallpaper paste?
- What is the paste’s shelf life?
- Where and how can I dispose of wallpaper paste?

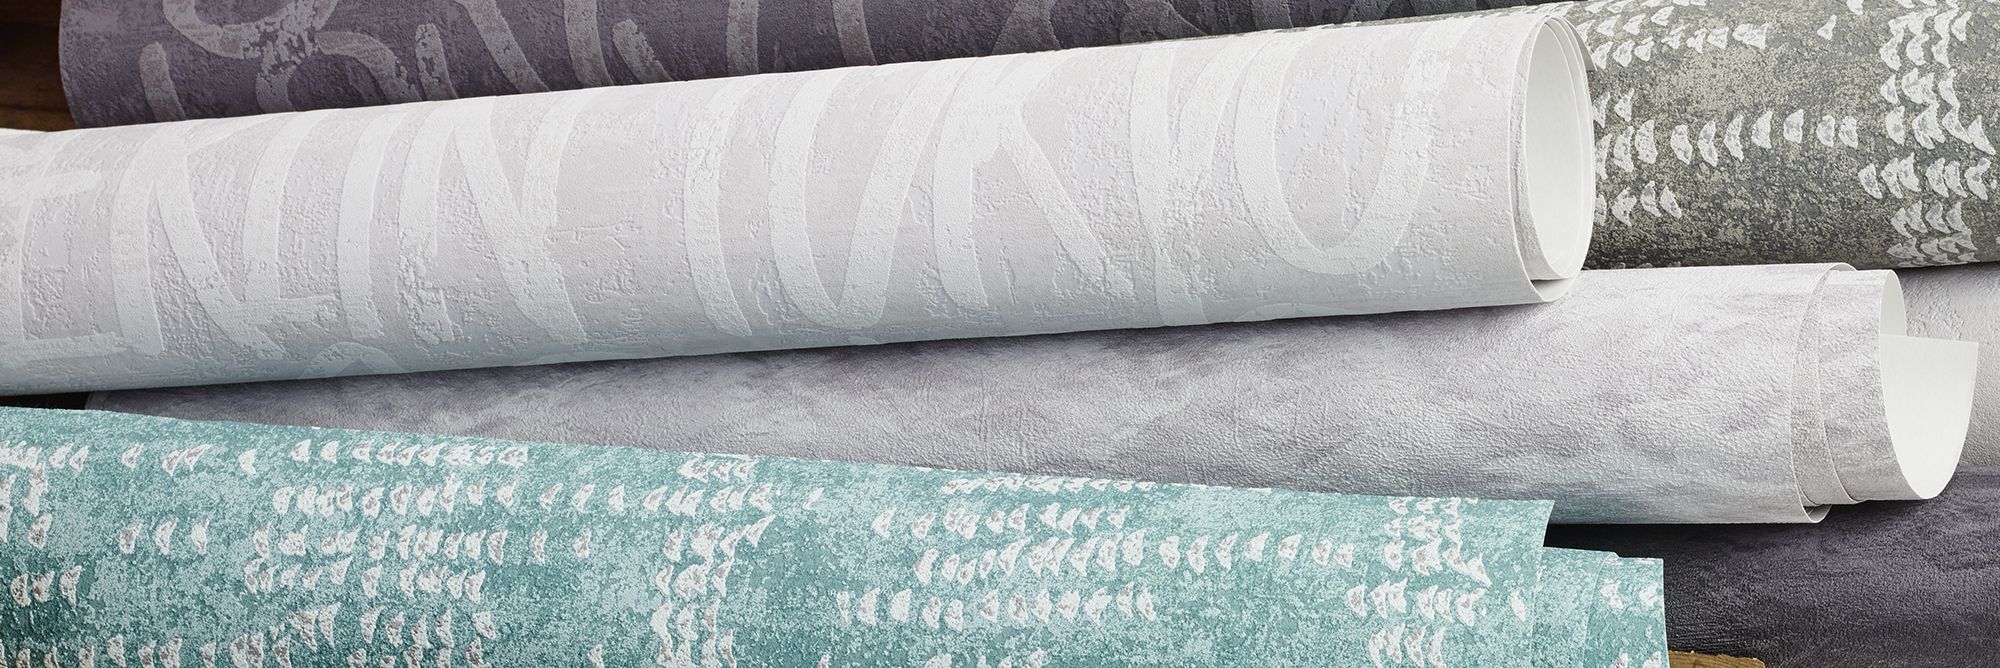
The all-rounder: universal wallpaper paste
The special one: wallpaper paste for non-woven wallpapers


The multi-talented universal wallpaper paste allows you to apply all ordinary types of wallpaper. It is suitable for paper wallpapers, satin wallpapers, textured profile wallpapers and non-woven wallpapers.
This high-yield wallpaper paste is not used to pre-paste the wall, rather to paste the wallpaper. It adheres to all suitable substrates and creates a permanent bond between the wallpaper and the wall.
Stir it up in just a few minutes and it’s ready to use! The paste ensures adhesion to the wallpaper base and softens wallpapers (e.g. paper wallpapers) for optimal processing.
Wallpaper paste for non-woven wallpapers not only proves its worth with optimal adhesion to the wall, it will also impress you as it is easy to use and also very durable.
Within five minutes, the methylcellulose-based wallpaper paste for non-woven wallpapers can be stirred up and is ready for use, and in just a few steps you will have a paste which is simple to process and which creates an optimal bond between the backing material of the non-woven wallpaper and the wallpapering substrate. With this paste for non-woven wallpaper, you save time as you can work quickly when aligning and pressing on the wallpaper. This wallpaper paste, which is specially designed for non-woven wallpapers, will dry out without staining.
For these reasons, the wallpaper paste is particularly popular with professionals and wallpapering novices.
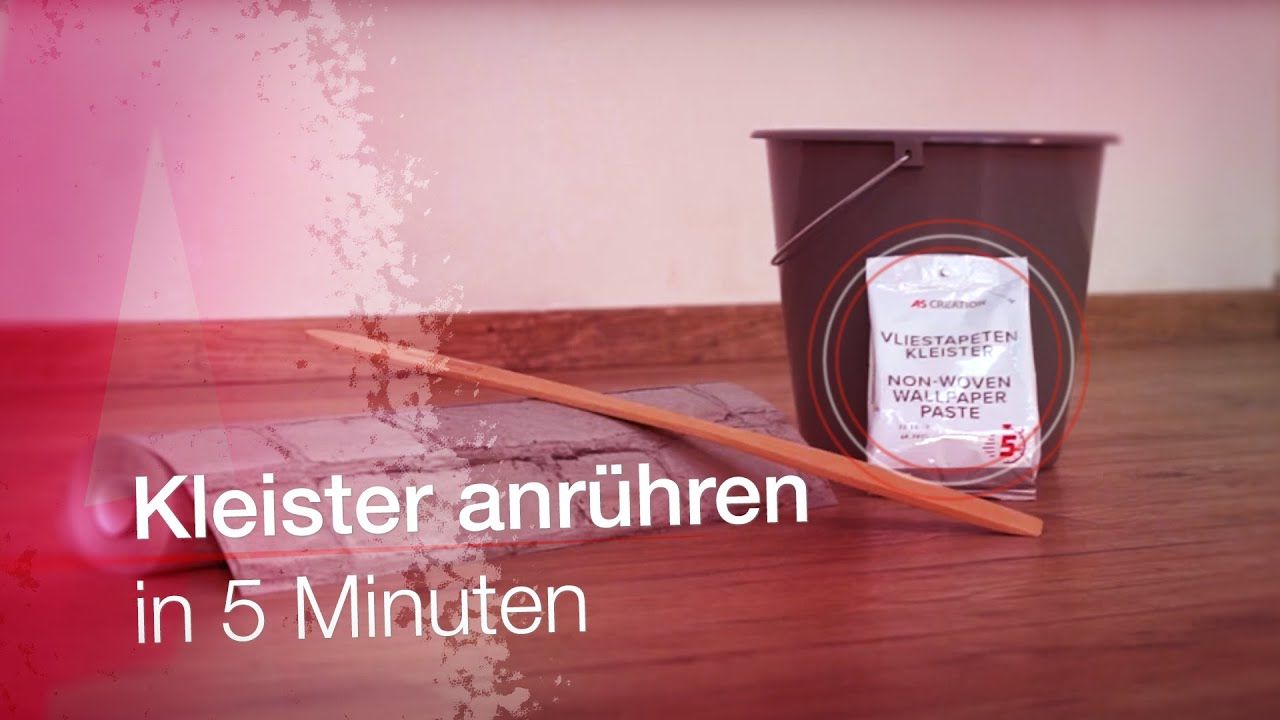
- What you need: a clean bucket, a stirring tool, water and, of course, paste
- First of all, put the cold water into the bucket, then start to stir and only once the water is swirling around should you sprinkle in the wallpaper paste quickly.
- The water and paste quantities are mixed in a certain ratio depending on the type of wallpaper and processing method. You will find tips about this on the paste packaging.
- Stir vigorously until a homogenous mass forms and the powder has dissolved. Stirring for a full minute means that the paste will disperse in the water optimally, forming a smooth paste.
- Wait! Depending on the paste, it takes between 5 and 15 minutes for the paste to swell completely and a whitish paste to be produced. The wallpaper paste is ready!
Universal wallpaper paste:
A packet of universal wallpaper paste will suffice...
...for paper wallpapers
for a wall area of approx 35-40 sqm, i.e. between 7 and 8 rolls of wallpaper
...for satin, textured profile and non-woven wallpapers
for approx. 25-35 sqm wall area, i.e. 5-7 rolls of wallpaper
... when pre-pasting
for approx. 80-100 sqm wall area.
Wallpaper paste for non-woven wallpapers:
One packet of wallpaper paste for non-woven wallpapers will suffice...
...for non-woven wallpapers & photo wallpapers
for approx. 35 sqm, corresponding to 5-7 rolls of wallpaper
...for glass fabric
for approx. 30 sqm of wall, corresponding to a roll (roll lengths 25 m)
... when pre-pasting
For approx. 60 sqm wall area.
With one packet of wallpaper paste you can hang between 5 and 7 rolls of wallpaper.
The more absorbent your wall is, the more wallpaper paste you will need. By pre-pasting the wall, you are ensuring that the wall becomes saturated before you actually start wallpapering, reducing the risk of bubble and crease formation through too little paste.

With the pasting technique the wallpaper is pasted first, and a wallpapering brush is the best tool for this. The wallpaper can then soften and stretch, meaning that creases and bubbling are avoided when adhesion takes place.
A clean, dry brush is also used to press the wallpaper onto the wall and to smooth it down.
With the paste-the-wall technique, the paste is applied directly to the wall, and the paste roller is ideal for applying the wallpaper paste to the wall evenly. However, the wallpaper itself is not pre-pasted, it is simply inserted into the still damp layer of adhesive.
To press the non-woven wallpaper onto the pasted wall, use a pressure roller, which – unlike the soft & textured paste roller – must be smooth, firm and dry.
The technique of applying paste to the wallpaper is simply called the pasting technique and is mainly used for paper wallpapers. They need to soak and stretch thanks to the paste. The wallpaper becomes softer and becomes easier to process. It also prevents bubbles from forming or creases from forming after drying.
Wallpapering professionals will refer to the past-the-wall technique to describe the paste being applied to the wall. This is the technique that is generally used for non-woven wallpaper. For wallpaper novices, this is a particularly user-friendly wallpapering method, as you do not have to think about soaking times and you can also correct and adjust the wallpaper after it has been hung.
The wall pasting technique allows you to pre-paste just small areas of the wall and to work at your own speed.
We explain how the paste-the-wall technique works on our advice page Wallpapering. Here, we also have a helpful video on this topic.
Paper wallpapers
- Scissors or cutter knives
- Folding ruler
- Spatula
- Paste brush or paste roller
- Pressure roller or pressure spatula
- Covering film & adhesive tape
Non-woven wallpapers & photo wallpapers
- Scissors or cutter knives
- Folding ruler
- Seam roller
- Paste brush or paste roller
- Pressure roller or pressure spatula
- Covering film & adhesive tape
Wallpapers & borders
- Spirit level
- Tape measure
- Scissors or cutter knives
- Paste brush or paste roller
You can find all of these tools in the shop in the collection – Wallpapering tools. You can also read information on the functions and use of the utensils on the advice page.
You will often find self-adhesive versions of wallpaper borders, for which paste is not required. However, for a beautiful result you do still need two key aids: a spirit level and a tape measure – so that the border provides a straight finish and is a harmonious wall decoration.
In its packaging, wallpaper paste powder has a very long shelf life; on every packet you will find a use-by date.
If the paste is stored in a cool, dry place it will retain its properties and can be processed with no problem. The ideal storage is in the original opaque packaging, at low temperatures and low humidity.
Prior to using the product you should check whether the paste powder is loose; if the powder clumps then it has already drawn in moisture and we would recommend using new paste.
Once the paste has been made up, the shelf life is short and it should always be used quickly. So try not to make up too much – it’s better to make up a second batch of paste.
If you want to keep wallpaper paste, for example, if you want to continue wallpapering the next day, you should seal the remaining paste in an airtight container and store it in a cool place. If the paste has retained its colour and consistency, you can continue to use it.
Wallpaper paste that smells bad, is discoloured and yellowish or has become too runny must be disposed of. The paste has gone bad and has lost its adhesive powers.
Now, let’s decorate those walls! Order wallpaper and wallpaper paste online and get started with redesigning your living space.